
Growing and the lab
Garden beds, bush grades, harvest yields and the lab freezer, with every speed upgrade.
the garden bed
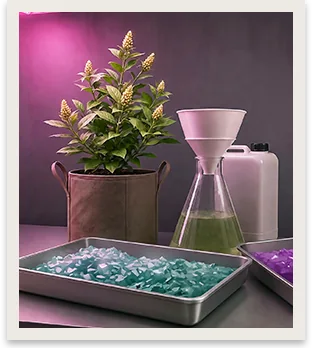
A garden bed holds 6 growing bushes. Every bush needs 100 points to mature. Once it is mature you harvest it for bags you can sell, and the bush goes back to growing, so one bush keeps paying.
Three parts speed the bed up. With all three fitted it runs 50% faster.
which grade to grow
Higher grades cost more to start and give more per harvest. Every harvest can also roll a small bonus on top.
| Bush | Cargo value | Harvest gives | Per harvest | Bonus | Each bag sells for |
|---|---|---|---|---|---|
| Growing Bush (Grade 1) | $20,000 | Harvest Bag (Grade 1) | 2 to 4 | +1 to 2 | $4,000 |
| Growing Bush (Grade 2) | $30,000 | Harvest Bag (Grade 2) | 2 to 4 | +1 to 2 | $6,000 |
| Growing Bush (Grade 3) | $40,000 | Harvest Bag (Grade 3) | 2 to 4 | +1 to 2 | $8,000 |
the lab freezer
The freezer does the same job for crystal concentrate, which needs 10 points to become hard crystals. Those go to the lab table and come out as powder. The lab chain has the values at each step. Grow Room vs Chemical Lab works out which one pays itself back first.
| Freezer | Slots | Cycle |
|---|---|---|
| Tier 1 | 4 | 6 min |
| Tier 2 | 6 | 6 min |
| Tier 3 | 8 | 6 min |